Every property has a different rhythm. The craft is to show its space, light, and character with clarity.
A practical field guide
How to Do
Real Estate Photography
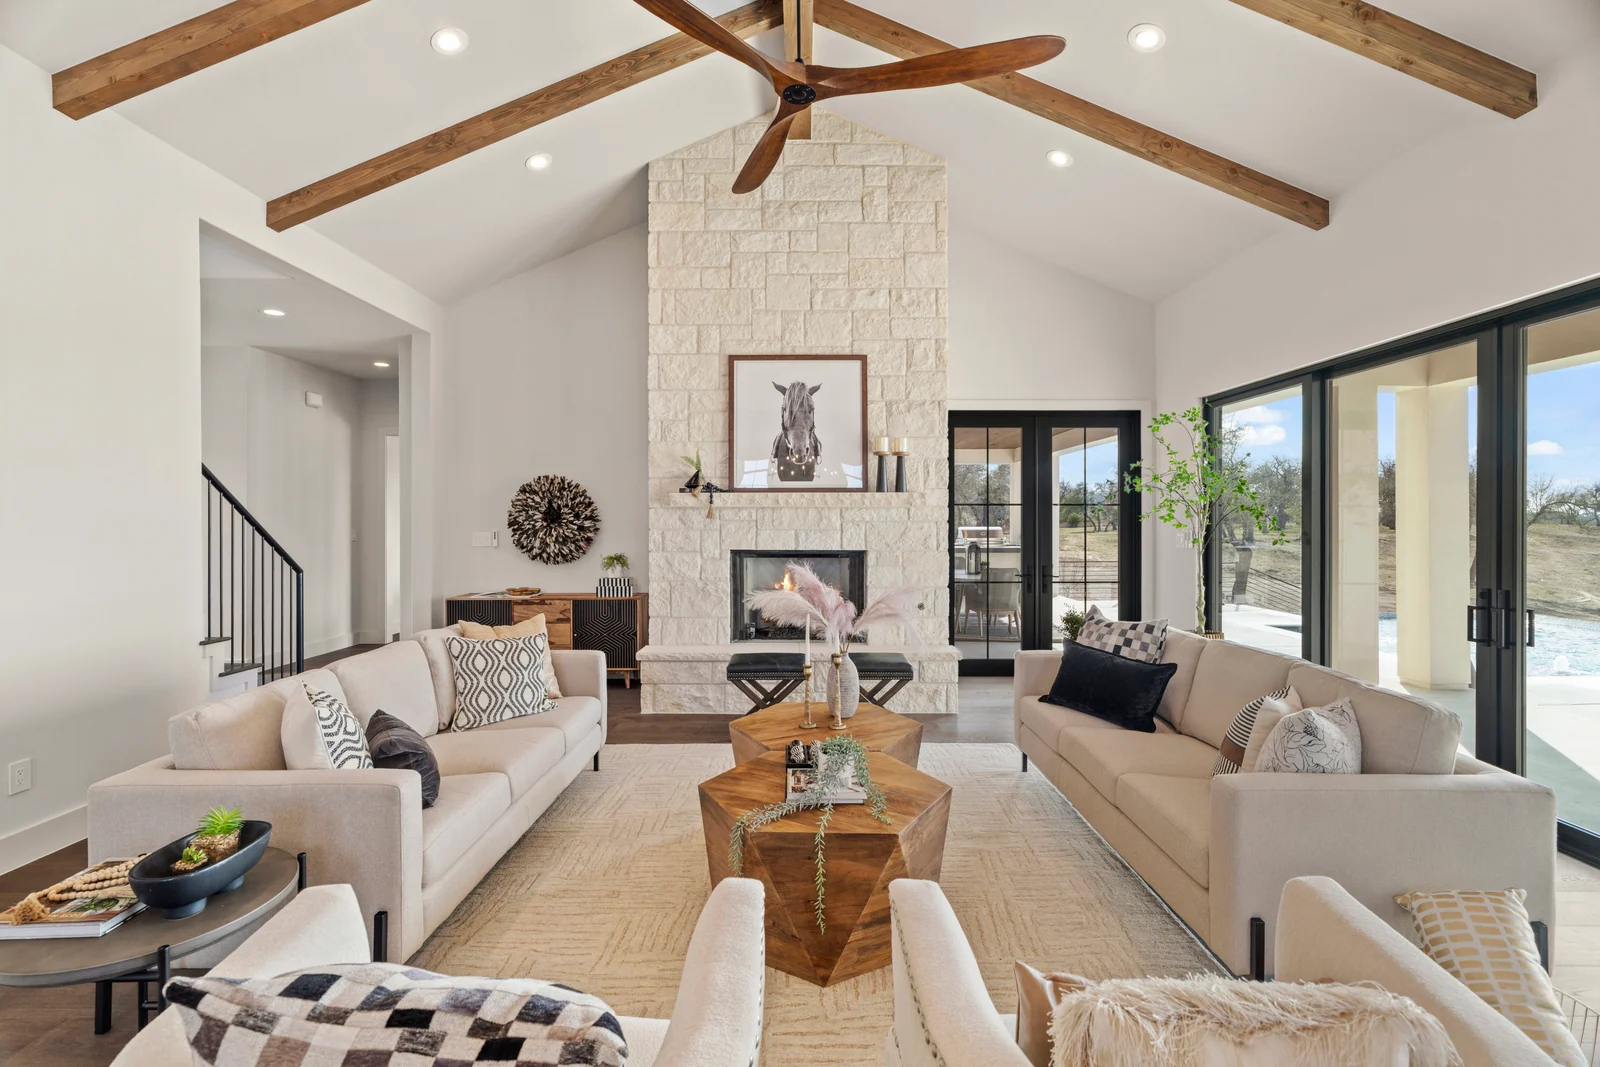
Gear up.
Start with equipment that gives you control and repeatability. You do not need the largest kit; you need a reliable way to expose a room cleanly and keep perspective consistent.
- Camera: A DSLR or mirrorless camera with manual settings gives you control over exposure and image quality.
- Lens: A wide-angle lens, often in the 16–35mm range on a full-frame camera, helps show a room without exaggerating its size. Watch the edges for distortion.
- Tripod: A stable camera position makes lower-light exposures and consistent framing easier.
- Flash: An external flash can help balance mixed or dim interior light when used carefully.
- Editing tools: Software such as Lightroom or Photoshop can help with color, exposure, and perspective after the shoot.
Prepare the property.
The camera notices what the eye might skip. A few minutes of preparation can do more for the finished images than extensive retouching later.
- Declutter: Clear counters and remove distractions so the room itself stays the focus.
- Stage with restraint: Arrange furniture and details to help viewers understand the room's purpose and scale.
- Watch the light: Use natural light when it serves the space. Check interior bulbs for mismatched color temperatures before you start.
Shoot with intention.
Compose to explain the room, not just to fit as much as possible into one frame. Think about what the viewer needs to understand when moving from image to image.
- Find the right angle: A corner can show useful depth, but the best viewpoint is the one that describes the space honestly.
- Keep verticals straight: Doorways and walls should not appear to lean unless the architecture actually does.
- Use visual structure: Symmetry, leading lines, and the rule of thirds can guide the eye without making the composition feel forced.
- Bracket exposures: Capture a range of brightness when windows and interiors have very different light levels, then blend carefully in post.
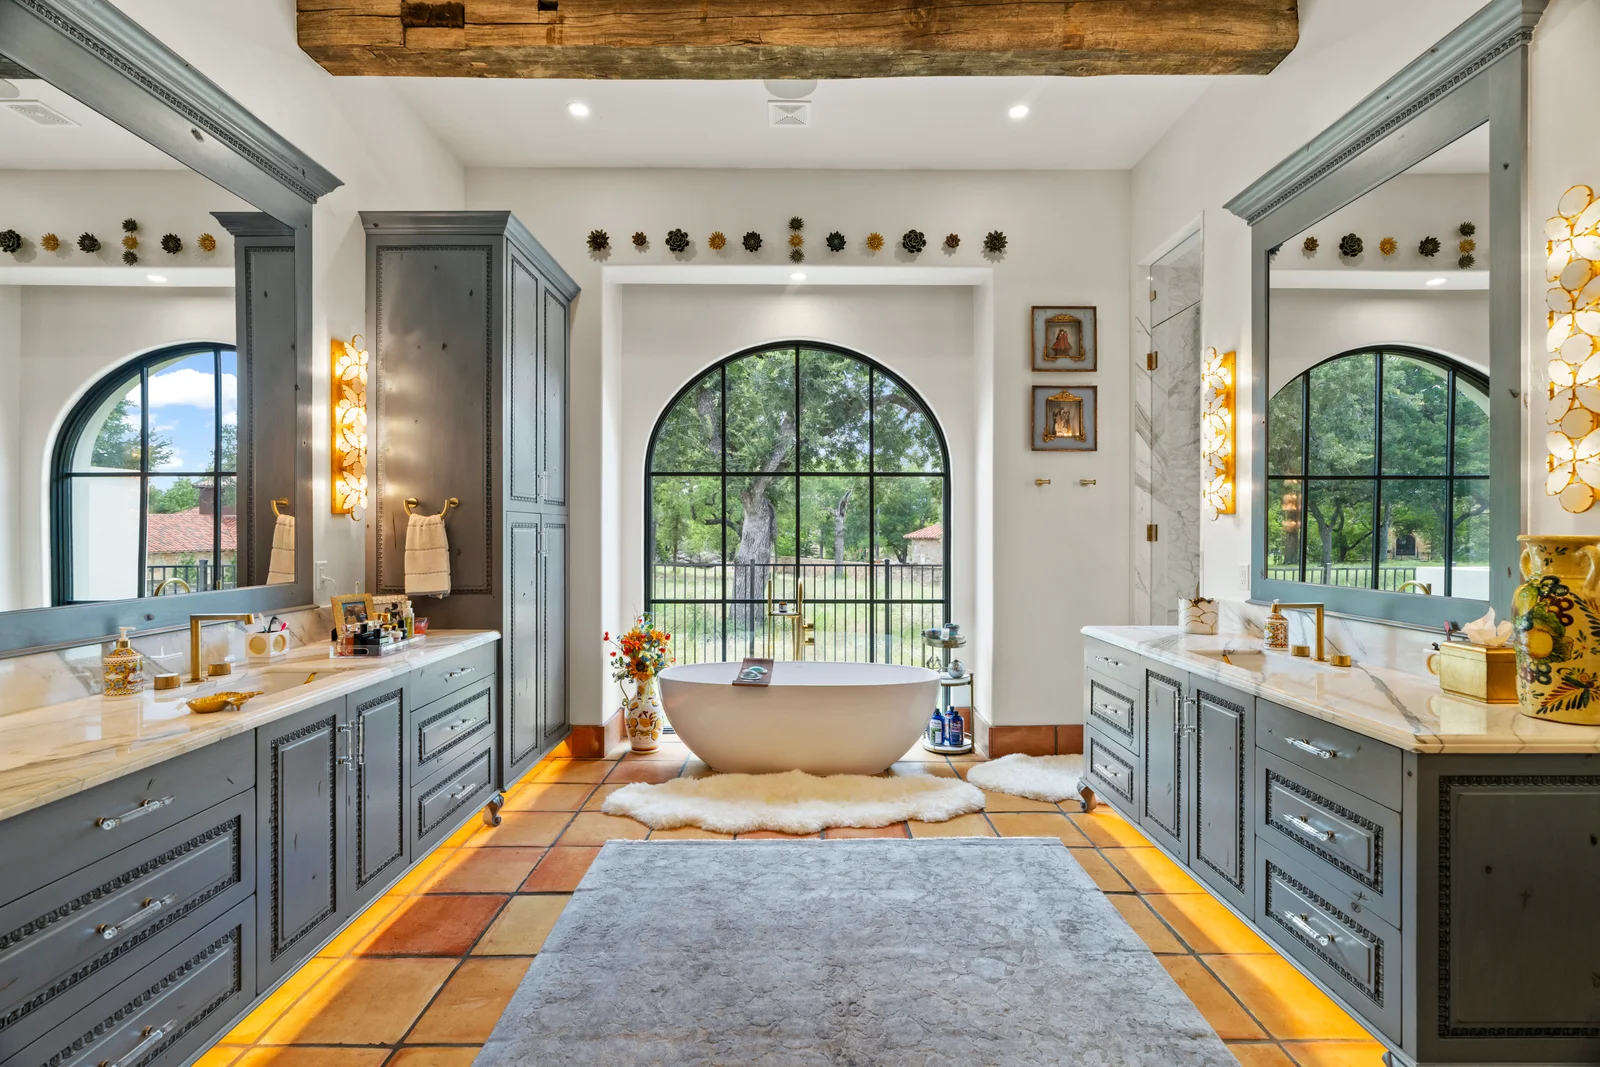
Use the right technique for the story.
Some properties call for more than a daytime interior set. Add these approaches when they genuinely help explain the place.
- HDR: Blend exposures to retain detail in both bright and shaded areas, without making the result look unnatural.
- Twilight: Photograph near dusk to show the relationship between exterior lighting and the surrounding sky.
- Aerials: A drone view can show the lot, setting, and nearby context when the location and conditions allow it.
Finish with a light touch.
Post-processing should help the image resemble the experience of the space—not turn the property into something it is not.
- Correct color: Keep whites neutral and colors consistent from room to room.
- Balance light: Adjust highlights and shadows so important details remain visible.
- Refine details: Remove small distractions and bring out the features that define the home.
- Straighten and crop: Keep lines true and eliminate edges that pull attention away from the subject.
Austin homes range from historic rooms to modern open plans. The best approach adapts to the property while keeping the images clear, welcoming, and true to life.
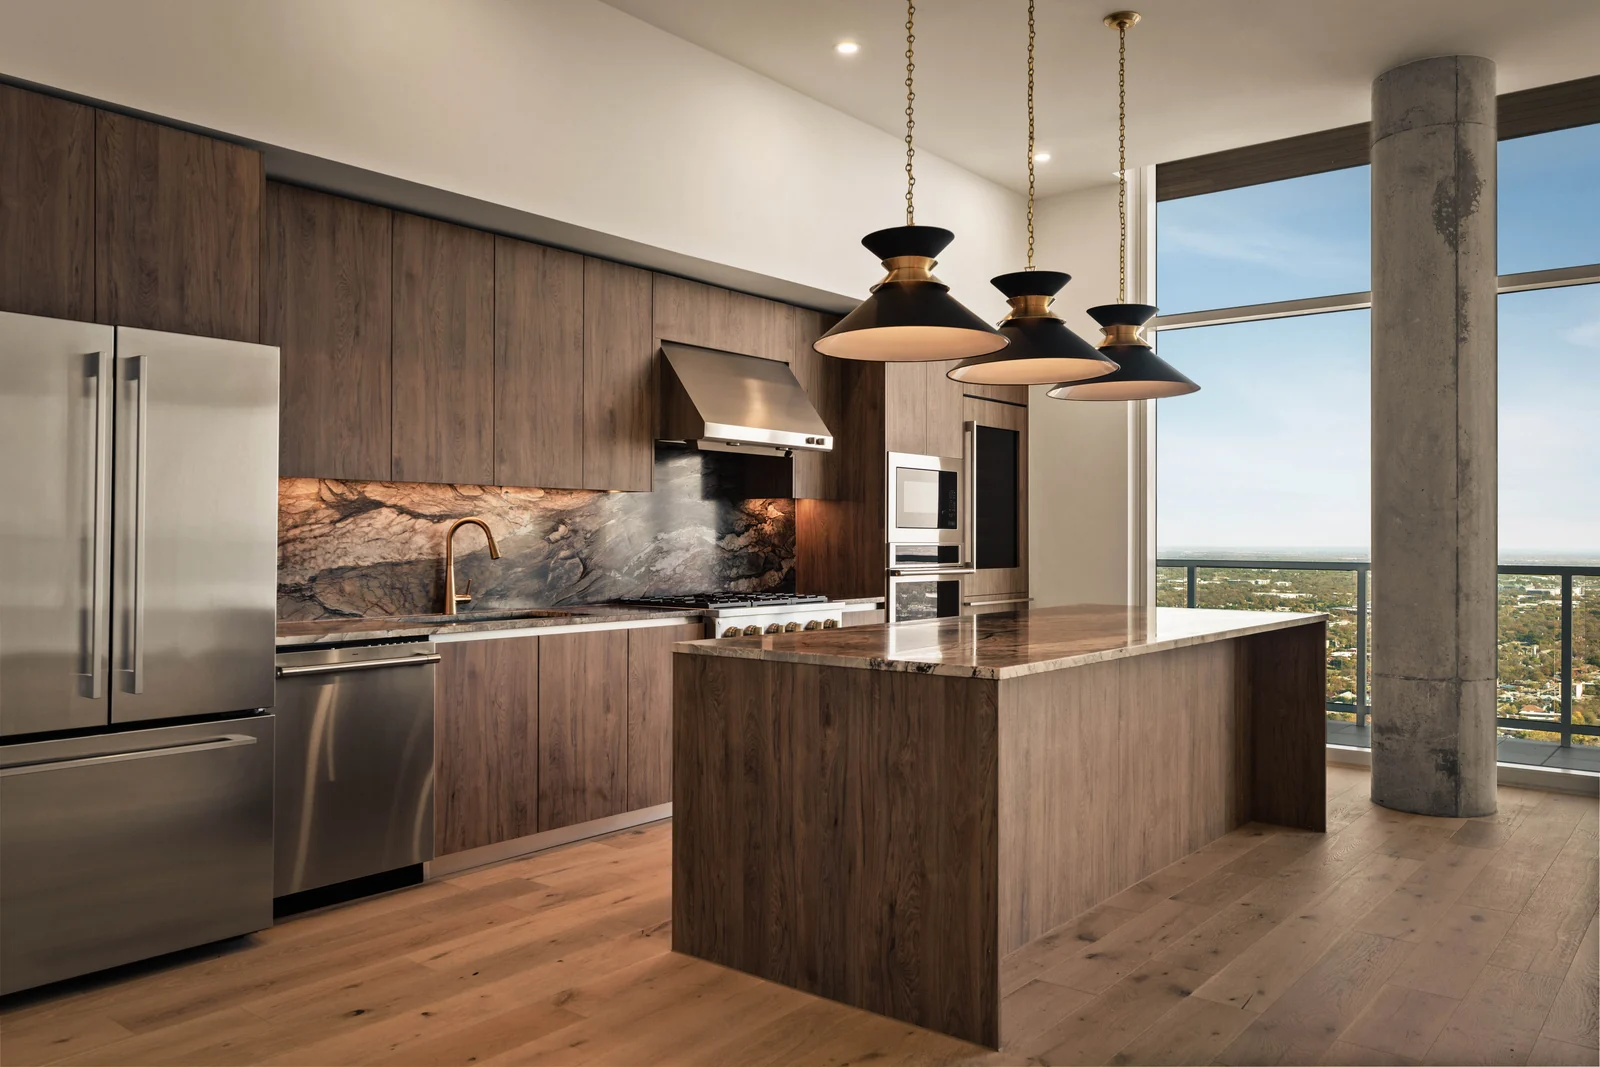
Ready for the next listing?
Make the first look
worth remembering.
See how we photograph properties across Austin and Central Texas.